• home
  • book
  • patterns
    • video tutorials
    • helpful pdfs
    • tools
  • classes
  • about
  • blog
Menu

Blue Bee Studio

  • home
  • book
  • patterns
  • techniques
    • video tutorials
    • helpful pdfs
    • tools
  • classes
  • about
  • blog

Changing up Clio

December 20, 2016

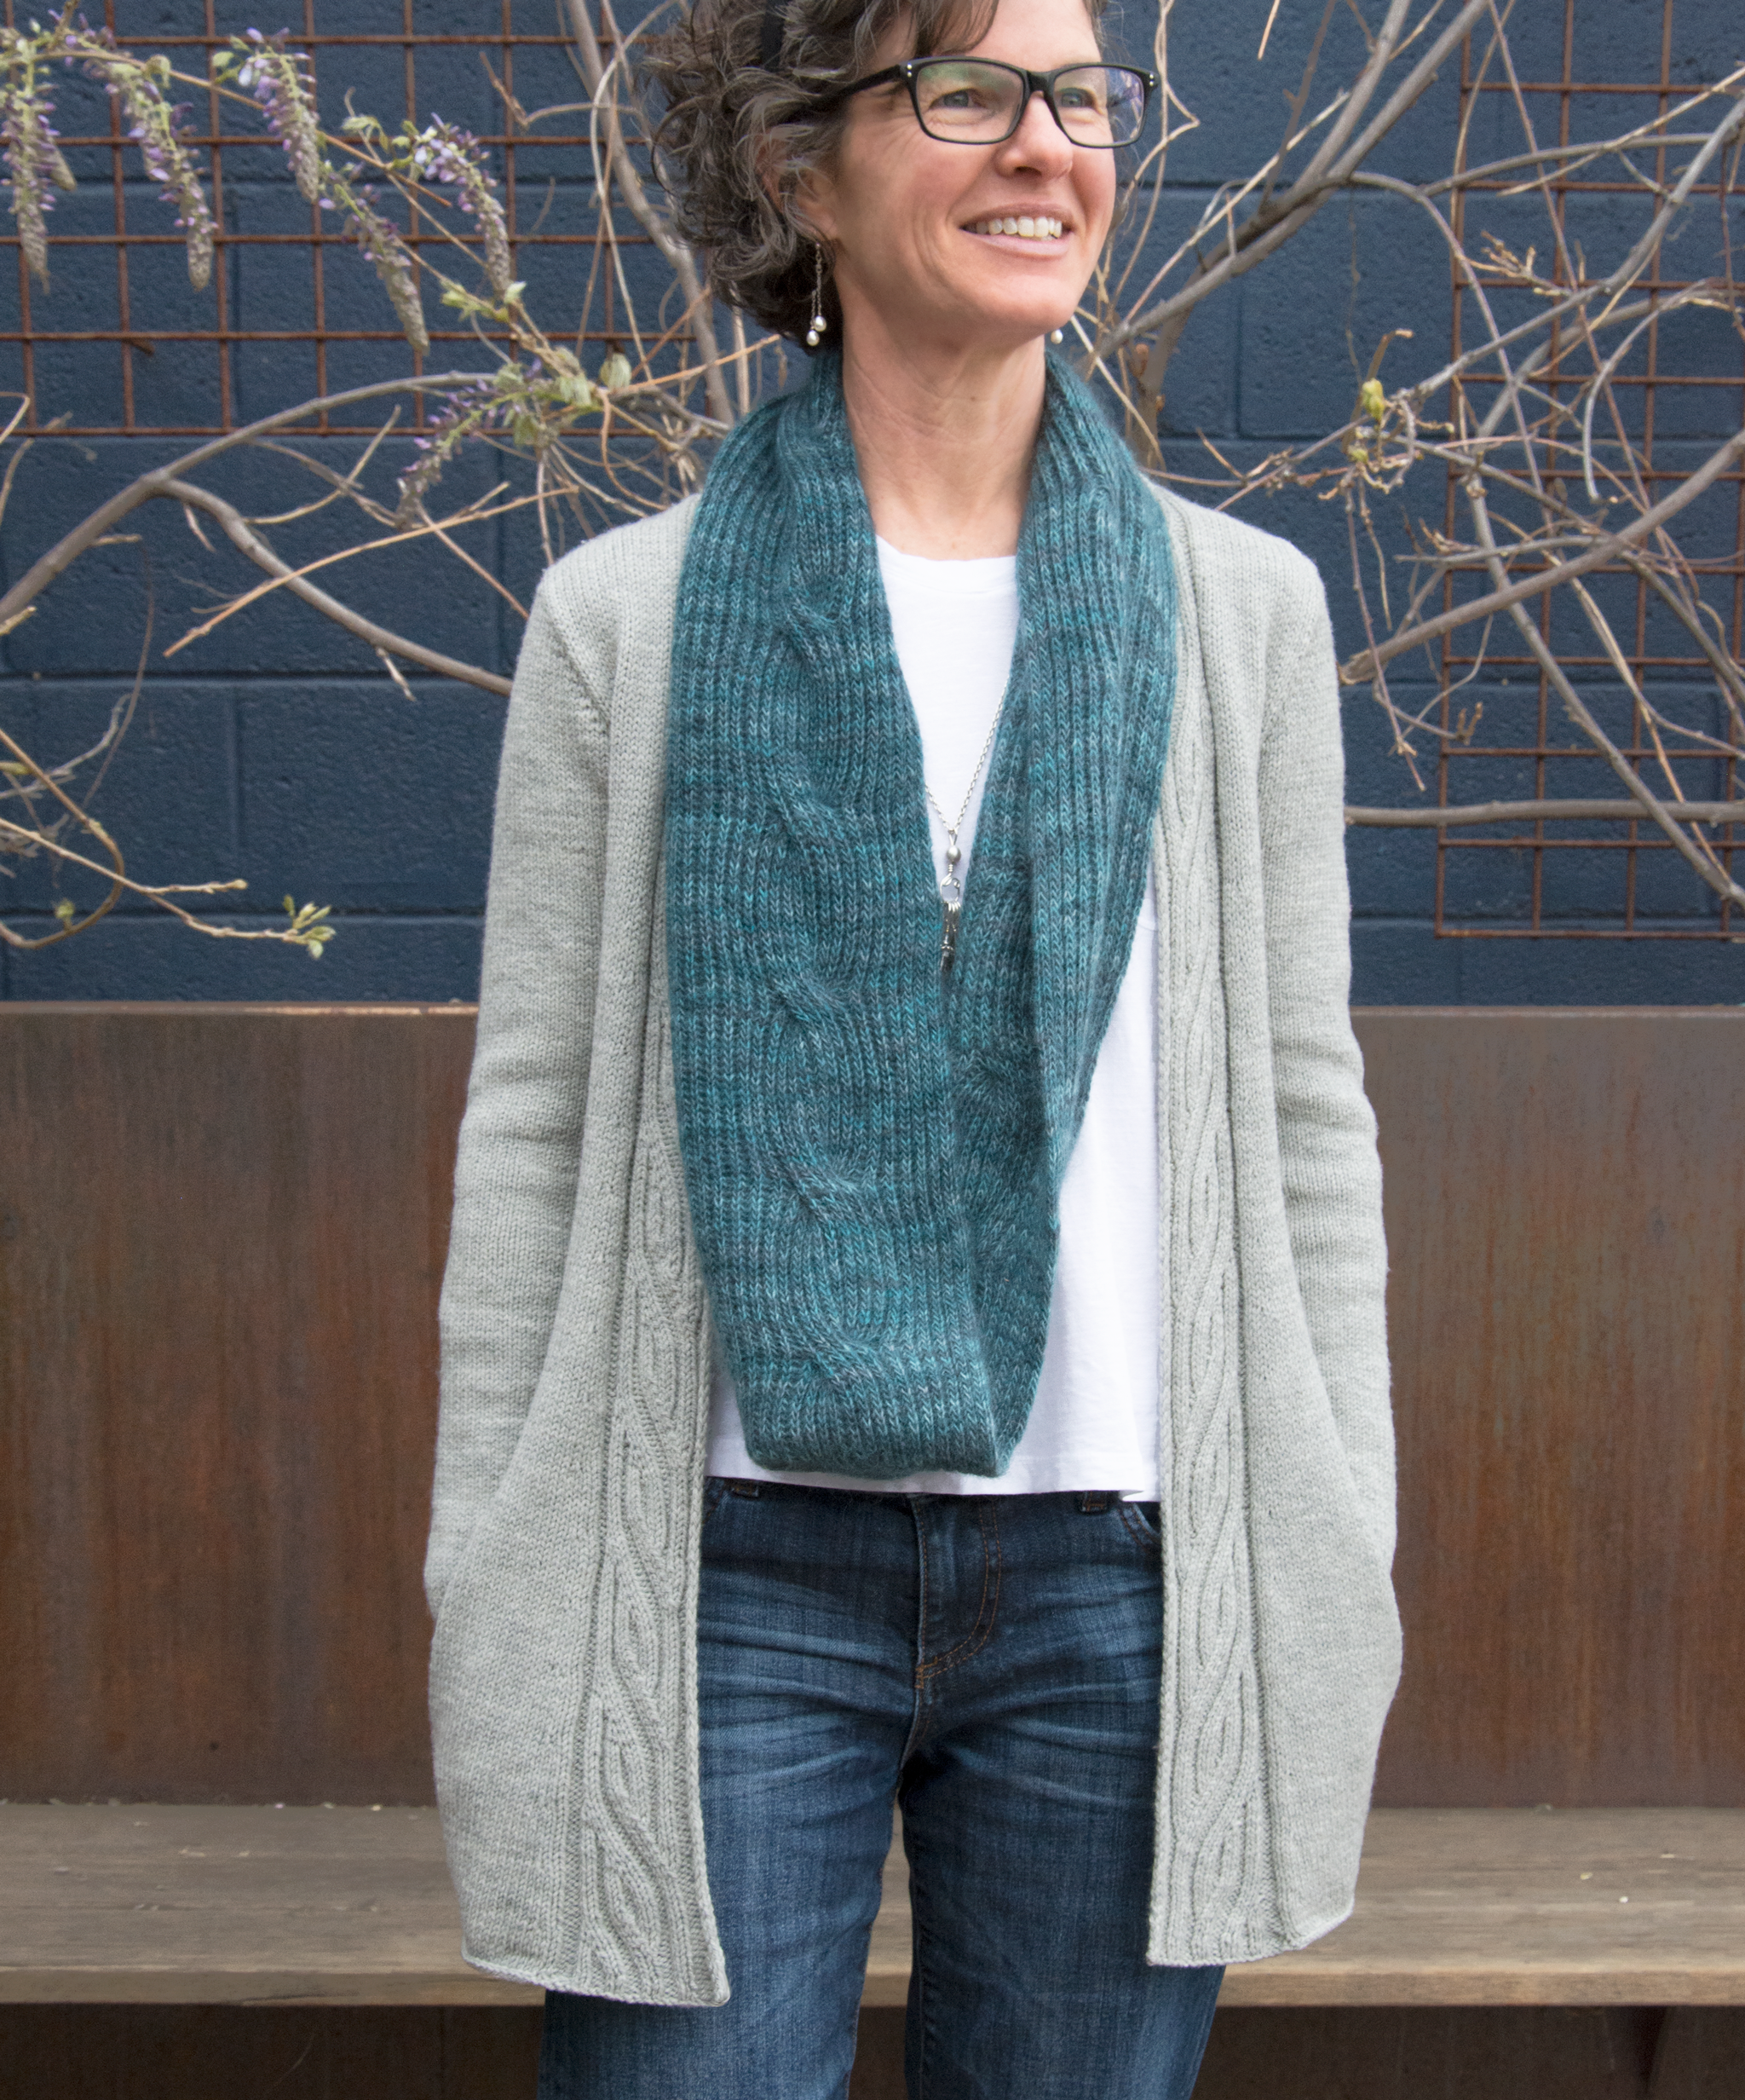
I've been thinking that a lighter weight version of Clio might be a good addition to my wardrobe. Both samples from the pattern will be off traveling for a while, and I really want one to wear—so come January 1st, I'll be casting on for a new Clio out of some lovely Sincere Sheep Cormo Sport.

The pale grey swatches above are in the new yarn. Okay, yes, they are on the skimpy side in terms of length, but since I've already knit the sweater twice, they are big enough for me to know what the fabric will be like. If you are knitting Clio for the first time, I'd encourage you to work your swatches a bit longer so that you can really understand the fabric.

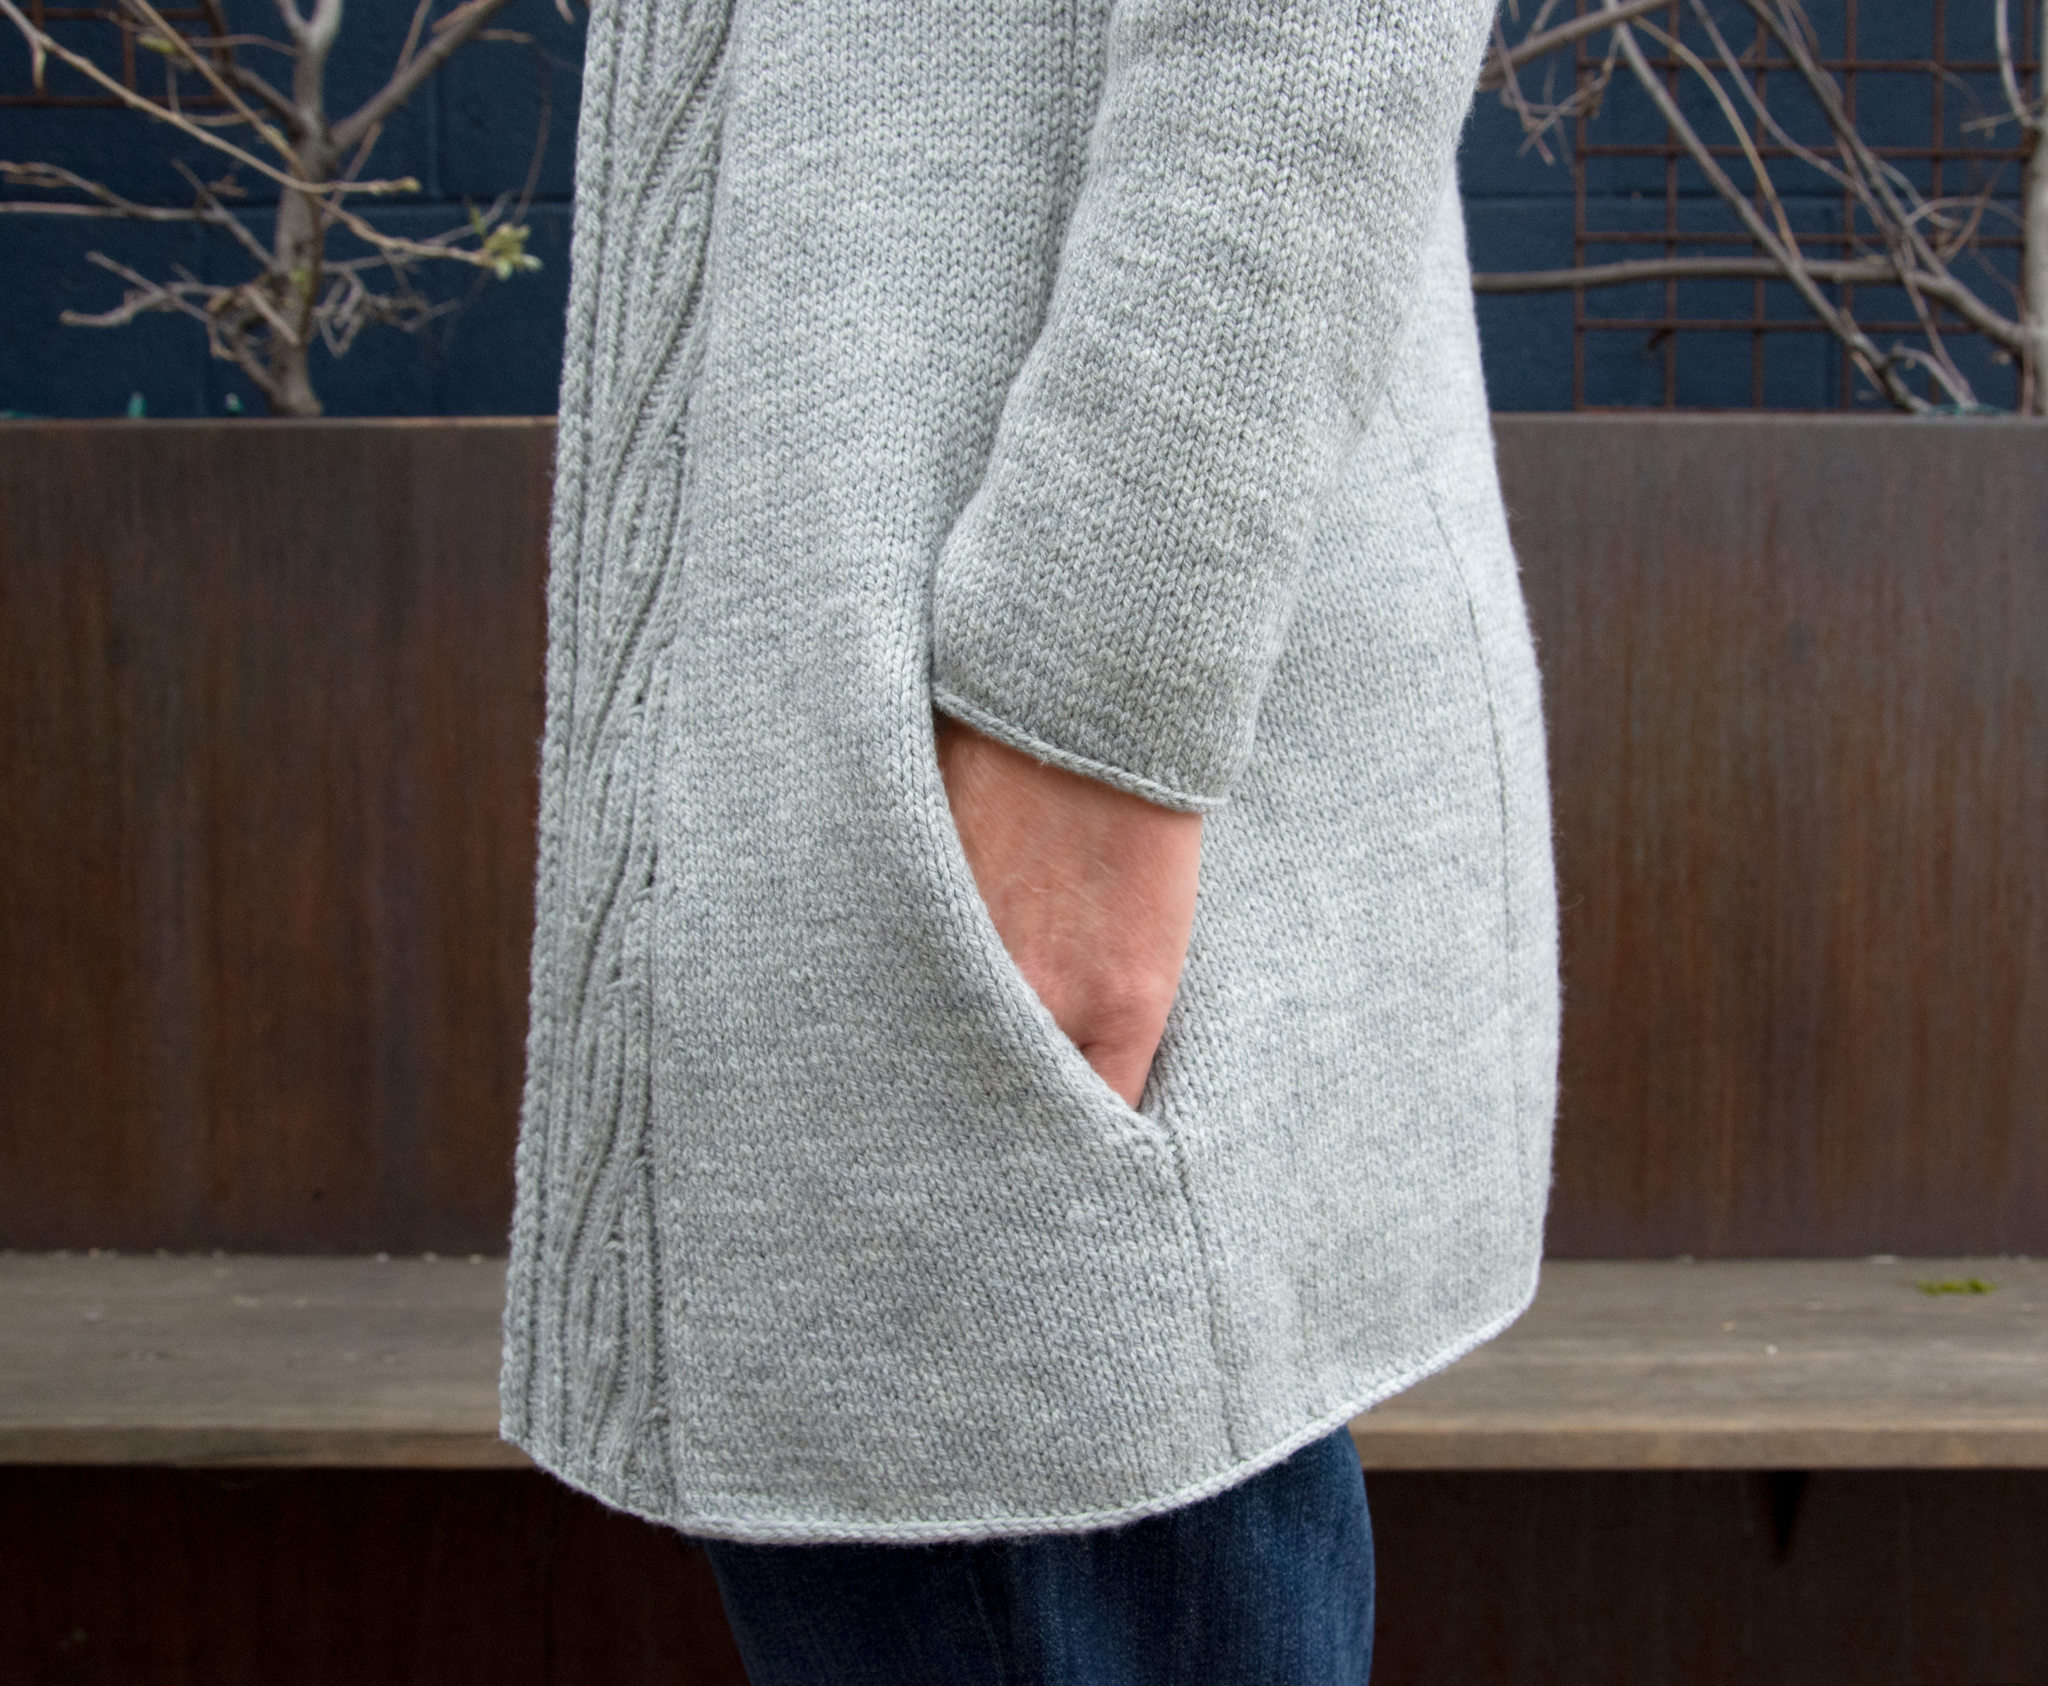
Although Cormo Sport is lighter and skinnier than Quince and Co Phoebe, the yarn the pattern samples were knit in, I’ve decided to stick with the US 8 [5 mm] needles called for in the pattern. Cormo fiber has a lot of bounce to it, and I want my new Clio to drape like the original, so a more open, airy fabric will help with that. Worked on US 8s, the fabric has the movement I’m looking for, and the stitch definition is still acceptable. 

Even using the same size needles, my stitch and row gauge are tighter than the pattern's stated gauge, so I’ll be making a gauge adjustment. With Clio, it’s pretty easy to do this, as all the parts of the design scale nicely. The one element that might suffer at too large or too small a gauge is the cable that runs from shoulder to cuff, but I'm happy with how this looks in my swatch. 

Some simple gauge math

To estimate the finished garment size I'll wind up with working at this new gauge, I divided the pattern’s stitch gauge by my cormo stitch gauge, and got .96. I did this for both gauges listed in the pattern, just to confirm the number I'd gotten.

This means that if I knit my chosen pattern size, the 47" [119.5] bust circumference, I'll wind up with a garment that is 96% of that size, or 45" [114.5 cm]. This might actually be okay. Since the fabric is a bit finer than the original, I might not need as much positive ease in this new one. If I go up a pattern size, to the 50" [127 cm] circumference and multiply that by .96, I get 48" [122 cm]. This might also be okay. An extra inch on the full circumference of garment with this much positive ease should still be fine. 


A small design choice

What I'm actually going to do is to use the numbers from the 47" [119.5] size, but when the time comes to cast on stitches for the neckline, I'm going to add four stitches to each woven lattice panel, front and back. These extra stitches will make the neckline slightly wider, which I'm happy about. If I wanted a narrower neckline, I could do the opposite, following the cast-on numbers for the larger size, but eliminating two stitches from each woven lattice panel.


Row gauge adjustments

That takes care of the stitch gauge, and the horizontal measurements. For the row gauge and vertical measurements I'm simply going to work to the depths given in the pattern for my desired 47" [119.5] size. This means that for the cabled shoulder pieces—and every other part of the garment that has a depth measurement—I'll ignore the pattern's references to the number of rows to work, and just check the depths with my ruler as I go. I should note that when I swatched, I measured my swatches before and after blocking so I'd know if they changed length in the process. 

One of the things that makes the modern drop-shoulder style look intentional is that although the body may be oversized, the sleeves fit closely at the upper arm—so I'll pay particular attention to the armhole depths as I work the upper bodice. For all the rest, I can simply try the sweater on, and make decisions about the body or sleeve lengths on the fly.

•   •   •   •   •

I’m excited about my sport-weight Clio. I think the design would be gorgeous in fingering weight yarn, and worsted weight Clio could work too. Bear in mind that the design really benefits from having a little drape. This can come from the fiber—Phoebe’s extra-fine merino has superb drape—or it can be encouraged, as I am doing here with the Cormo Sport, by working a bouncier yarn at a looser gauge. 

If you’d like to try changing gauge on Clio, swatch with your chosen yarn until you get a fabric that you like, then use the simple math above to help calculate the size to cast on.


Clio-along

Since for once I'll be doing some knitting that's not secret, I've decided to host a little knit-along for Clio in my Ravelry group. The KAL starts January 1, and will run through March 15. You're welcome to join in! 

1 Comment

For the love of pockets

December 2, 2016

It always excites me to see a knitter take one of my designs, tweak it in some way, and come up with an entirely new version. When my friend Barbara decided to make Copperplate, she knew she wanted it to be longer, and a little more coat-like. Once she'd decided on the extra length, adding pockets seemed like the next logical step, so she asked if I'd write her some instructions to make these modifications. As soon as she described what she wanted, I knew it would be a winner. In fact, the Barb version just might be better than the original. 

Design decisions

Pockets come in an enormous range of of styles. Vertical openings, horizontal openings, trimmed with ribbing or I-cord, they can be big and showy—a real design feature for a garment­—or discreet, and nearly invisible. 

Copperplate has a clean, tailored, look. The traveling rib pattern of the front bands, and the faux seams that define the side panels of the garment both create strong vertical lines that help to reinforce the vertical lines of the wearer's body. I knew that whatever pockets were added to the sweater needed to be the discreet variety that wouldn't disturb the lines of the design, so I decided on vertical pocket openings, set into Copperplate's faux seams. 

Pockets that are knit into the body of a garment are probably the most common sort, but for pockets that are going to be used a lot—as they are sure to be with this style of cardigan—I'm partial to the kind with free-hanging linings. These allow the cardi fronts to hang smoothly and prevent the fronts from getting stretched out of shape as hands are repeatedly shoved into the pockets.

Although the cardigan is worked in Chickadee, Quince and Co's sport weight yarn, I wanted to keep bulk to a minimum, so I suggested knitting the linings in Quince's fingering-weight Finch. Working them a bit more densely also helps them to stand up to the hard use that's to come.

Pockets for all

When I saw Barb's finished, pockety Copperplate, I knew I had to have one exactly like it—and that I'd want to put these pockets in everything. This longer version has come with me to numerous teaching engagements, and has been a booth sample at shows, and everyone who's seen it has had the same question. 'Where is the pattern for these pockets???' I'm please to be able to share it with you all now.

Copperplate pockets lets you add sleek, tailored pockets to virtually any cardigan design. The pattern has one set of instructions written specifically to work with the Copperplate pattern, and it includes separate instructions for adding pockets to your favorite cardigan pattern—whether it is knit top-down, bottom-up, in one piece, or in pieces. Advice on pocket placement, choosing yarn, and adding pockets to non-stockinette designs is also included.

I'm looking forward to seeing a lot of pockets in the future!

Oh, and if you're wondering about the cowl that Barb is wearing in the photo above, it's my Eddy pattern, knit in Piper in a one of Quince's limited edition hand-dyes. Smashing combination.


Note: If you've previously purchased the individual Copperplate pattern or the Top Down ebook on Ravelry, you'll find the Copperplate-specific version of the pattern is already in your Ravelry library. If you purchased either of these through the Quince and Co website, you’ll get an email with a new download link. If you have any trouble, please email Quince. 

2 Comments

Introducing Clio

November 18, 2016

I've knit a lot of stockinette (or nearly stockinette) sweaters recently, and by mid-summer this year I was itching to cast on something different. I wanted cables and lots of texture, but with a modern feel, and maybe a dash of drama. I pictured a slightly oversized and boxy shape, just a bit cropped, with a super-wide ribbed neckband, and cables that ran from shoulder to cuff. Oh, and a deep ribbed hem. 

Enter Clio, my take on the classic fisherman sweater, with cables and texture aplenty, but minus the bulk that often comes with that style. Worked from the top down, Clio uses a unique combination saddle-shoulder/drop-shoulder construction. Saddle-shoulder pieces allow the cables to run continuously from neckline to wrists, and the steeply sloped modern drop-shoulder shape eliminates excess fabric under the arms—even with the oversized body—to make for a truly great fit. 

I've been wearing my cropped Clio pretty much non-stop since it came off the needles. In fact, it's not really all that short, hitting right at the hipbone—but the added ease in the body makes it look more cropped than it is. I wear mine over a long tank that fits closely at the hip. This creates a wide-over-narrow silhouette that is surprisingly flattering on a range of body types. 

But in case a cropped shape is just not for you, the pattern has instructions for a second style that's longer, with less positive ease, and a more conventional fit. This version has an optional split hem, with the splits shifted slightly toward the front of the garment to create a more flattering line.

Clio_saturn_7_1040.png

I used Phoebe, Quince and Co's heavenly new DK weight yarn, for this design. Its lovely drape keeps Clio's boxy shape fluid, and the yarn's subtle tonal variations add surface interest without obscuring your stitches. Love.

1 Comment
trickster_hw.png

Hat week!

November 7, 2016

Hat season is upon us, and I couldn't be happier. Hats make great portable projects, and terrific gifts, and they can serve as a safe place to try out new techniques. Plus, they keep your noggin warm!

So in celebration of toasty ears (and pompoms), each day this week a different Blue Bee Studio hat pattern will be available at 50% off the regular price. Follow me on Instagram to find out which hat is the design of the day, and get the daily Ravelry coupon code. The fun begins today. Happy Hat Week! 

Comment

Have a cupcake

September 4, 2016

Top Down turned one recently. As happens on anniversaries, I found myself thinking about the day a few years back when Pam Allen and I met for coffee and cooked up the idea of doing a small collection of my top-down set-in sleeve designs for Quince and Co. Originally, it was going to be a pretty modest undertaking—three or four sweater patterns plus a little explanation on why I like to construct sweaters from the top, as well as some mention of the improvements I’d made to the standard top-down sleeve formula. 

Pam loves set-in sleeves as much as I do, and as the project progressed, I’d get the occasional message from her saying, ‘I think you should explain to knitters how a set-in sleeve actually works’, or ‘what about fitting? can you talk about pattern modifications?’ Suddenly, before either of us knew how, the book had evolved far beyond its original scope. Those technical sections of the book were by far the most challenging parts for me to write and illustrate, but in a way, they are what I am most proud of.

As excited as I am every time I see a new project for one of the book’s six sweaters appear on Ravelry, it’s maybe even better to get a message from a knitter telling me that they’ve used the methods in the book to add beautifully-fitting top-down set-in sleeves to a different design. And maybe even better than that, is seeing other designers adopt and adapt the Top Down sleeve formula in their own work. One of these is Quince and Co's Leila Raabe. Keep an eye out next fall for her top-down set-in sleeve pullover in Owl—it's a beauty.

top down, hands on

Since the book came out last year, I’ve been teaching Top Down Set-in Sleeve classes in Quince flagship stores around the country. And getting to meet a lot of knitters and sharing with them techniques that will make their sweaters look and fit better might possibly be the best thing, in a long list of best things, that have come about since the book’s publication. 

In the day-long class, students get an introduction to top-down set-in sleeve sweater construction and learn how to fit a set-in sleeve; how (and where) to take measurements and how to choose a size; how to make adjustments, both for gauge differences and for fitting bust and hips. Each student then knits a practice set-in sleeve cap, learning how to pick up stitches and shape the cap using short rows. It’s a busy day!

Interested? Here’s where you’ll find me teaching this Fall: 

September 10 and 11: Monarch Knitting, in Pacific Grove, CA

September 17: Knitterly, in Petaluma, CA

October 1 and 2: Twisted, in Portland, OR

November 12: Knitterly, in Petaluma, CA

top down trunk show 

If you’d like to see the six sweaters from the book in person, you’ll find them here:

September 12–26: The Net Loft in Cordova, AK

November 14–28: Circle of Stitches in Salem, MA Nov 14 - Nov 28


a new newsletter, and a giveaway!

To say thanks for this fantastic year, and to entice you to sign up for the brand new Blue Bee Studio newsletter, we’re giving away three signed copies of Top Down: Reimagining Set-in Sleeve design. To be eligible to win a copy, all you need to do is to join the mailing list before September 15, 2016. Winners will be chosen at random. You'll find the sign-up link at the top of this page.

Update: Congratulations to the winners of the Top Down book giveaway, Anne C., Heather P., and Vicki M.!

1 Comment
sew_join2.png

Working with Kestrel

July 14, 2016

It's full-on linen season here in the northern hemisphere, and I'm swatching for a new design in Kestrel, Quince and Co's Aran weight linen yarn. Kestrel is a tape yarn, a knitted tube that has been flattened to form a sort of ribbon. This kind of construction may be new to a lot of knitters, so I thought I'd share a few things I've discovered about working with this beautiful yarn. 
 

Joining Kestrel

Linen fiber is inherently heavier than wool, so to keep garments light and airy, linen yarns are often worked at a fairly open gauge. This means that joins and woven-in ends are more likely to be visible in the finished fabric than they would be in a more densely knit fabric. On top of that, linen doesn't felt to itself the way wool does, so to keep ends from coming to the surface, it is often recommended that they be left a bit longer than they otherwise would be—not always the most attractive thing.

On the plus side, you can do some things with linen yarn that are really not possible with wool—including making sewn joins. Because Kestrel is a tape yarn, it is easy to join two strands by simply overlapping the two ends, and sewing them together with a few stitches in a matching sewing thread. This is the technique I used when knitting my Helvetica cardigan.

This sewn join will add a little thickness, which may be visible as a tiny lump in stockinette fabric, and for that reason I don't really use it in the middle of a garment. When worked at the selvedge edges of a piece of flat knitting, however, it makes a strong invisible join, eliminating a lot of ends that would otherwise need to be woven in.

Here's what I do: When I get to the end of a row and can see that I don't have enough yarn left to work another full row, I cut the yarn absolutely flush with the edge of the work. This will place the join right on that final selvedge stitch. Next, I tink back four or five stitches—just enough to give myself a little tail to work with. Now I overlap the two ends by about three-eights of an inch [1 cm] and sew them together with a few overhand stitches (shown here in a contrasting thread). All that remains is to reknit those stitches. The join will fall right on that final stitch.

A few photos to illustrate the process:

Cut the yarn flush with the edge of the last stitch.

Unknit a few stitches to create a little tail.

Overlap the ends of tail and the new yarn, and stitch them together. It doesn't need to be pretty.

After working the band, the join is held securely in the selvedge.

I used this technique throughout the body of Helvetica. When I later picked up stitches for the front bands, those sewn joins were invisible, locked in behind the band. Once the band is in place, there can be no possible stress on the join—so I don't have to worry about them ever coming loose. The technique is brilliant for flat knitting, and I might even use it on a piece that had no edging or bands, but what about knitting in the round?

For Helvetica's sleeves, I joined new skeins by simply dropping the old yarn, and picking up the new. I made sure that the joins were on the underside of the sleeve where they'd be less visible, and left long tails which I temporarily knotted together. When the sweater was finished, I wove the ends in on the wrong side of the fabric using duplicate stitch, then tacked them down with a few tiny stitches in the same matching thread, and cut the ends very close. For a sweater body knit in the round, I'd do the same, and make sure the joins were on the sides of the garment.
 

Finer points

How do I know if I have enough yarn to make it across a full row? If slightly more than three times the width of the piece remains, I know I'm good. If I have less yarn than that, I know I won't get another full row, so I make my cut. I may sacrifice a few yards here and there, but this way I'm sure I won't get caught in the middle of a row.

One thing to be mindful of when tinking back is to not pull the tail of yarn through a stitch to the opposite side of the fabric. For example, if the row I've just worked was a purl row, I make sure that the yarn is position, ready to purl, before stitching the two ends together.
 

One more Kestrel trick

Because of their flat cross-section, tape yarns tend to get a bit twirly as you work with them—so every once in a while, you'll need to get the twists out. Thankfully, there's a really easy way to do this. For Kestrel projects, I keep a locking stitch marker handy. When things get a little too twisty, I clip the strand of working yarn to the ball, then hold my work in the air, letting the ball dangle and spin freely for a few seconds until all the twirls are out. 

Kestrel is a lovely yarn that knits up quickly into supple, drapey garments—perfect for warm weather. I hope these tips will entice you to give it a try!

3 Comments
donner_blog_main.png

Donner

July 6, 2016

Introducing Donner—the perfect warm-weather garment. Knit in Quince and Co's wonderfully drapey Sparrow, and designed to fit with a bit of positive ease, this modern drop-shoulder pullover stays cool and breezy, even when the mercury rises.

Donner is worked from the top down, starting with a wide rectangle for the upper back. The shoulders are shaped with short rows, angling them downward for a better fit. Front and back are joined at the underarms and the body is then worked in the round to the hem. Three-quarter length sleeves are picked up from the armholes and worked to the cuff in the round. A simple, easily memorized, slip-stitch pattern keeps the knitting moving along, adding a refined texture that resemblies a chain of tiny mountain peaks.

Like my other drop-shoulder designs, Donner features a lateral braid across the back. As well as being decorative, the braid serves a practical purpose. Its firm stitches help to stabilize the fabric across that long shoulder line, giving the shoulders some needed structure—a thing that's especially helpful with linen. 

The design is named for Donner Summit, a piece of the Sierra Nevada that is close to my home, and even closer to my heart. Donner is granite crags sprinkled with day-glo green lichen, towering western white pines and wind-sculpted junipers—a place of incredible natural beauty that always calls to me.

Comment
Citron-in-bowl.png

Warming up to linen

June 9, 2016

Made from the long, straight fibers of the flax plant’s stem, linen is cool and drapey, the perfect thing for knitting warm-weather garments. If you have never worked with an inelastic fiber though, linen can feel pretty different the first time you try it. So here are a few tips for getting comfortable with this most glorious fiber:

Relax. Linen yarn doesn’t conform to the needles the way that wool does, so it creates a slightly larger stitch. In response, many knitters tension the yarn tightly, trying to achieve the same size stitches they’d get with wool. Don’t. Ease up, and go down a needle size or two. You’ll probably need to use a much smaller needle than you would for wool, but it will ultimately be a more pleasant experience.

And try bamboo or wooden needles. The grippier texture will help even out your stitches, and is often more comfortable than metal at small sizes.

Swatch. And wash. The ‘hand’ of linen yarn changes dramatically when it is washed and blocked. Linen fiber is ‘toothy’, so when stitches are formed, they tend to stay put. If you pull the needles out, the stitches will just stand there. Because of this, the working gauge and fabric can be quite different from the finished gauge and fabric—depending on the stitch pattern used. Once it has been washed and dried a few times linen becomes incredibly supple and drapey. And the drapiness increases with wearing, so it’s useful to preview what the final fabric will look and feel like.

Stockinette fabric usually doesn’t change gauge too radically between the unblocked and blocked fabric, though stitches will even out a bit. Garter stitch, however, is another story. The photos below are of the gauge swatch for my Lina and Colina tanks. The top one shows the unblocked swatch; the bottom, the same swatch after washing and drying in the dryer twice, and then steaming. Washing and drying has completely changed the aspect ratio of the fabric, allowing the stitches to condense horizontally and relax vertically. 

Unblocked gauge: 24 sts x 60 rows = 4” [10 cm] 

Unblocked gauge: 24 sts x 60 rows = 4” [10 cm] 

Blocked gauge: 27 sts x 44 rows = 4” [10 cm]

Blocked gauge: 27 sts x 44 rows = 4” [10 cm]

Soaking the swatch and drying it in the dryer is an excellent way of finding out what the fabric will look like a few washings and wearings down the road, as the tumble-action of the dryer helps to transform the linen fibers. I find that it takes three or four trips through the dryer to achieve a soft, supple, ‘finished’ fabric. Depending upon what kind of equipment you have, however, machine washing and drying can cause some color loss, so use caution with the actual garment.

Pull from the outside. Linen fibers can cling to each other when they are wound together, so a center-pull cake is usually not ideal. Working from the outside of the ball or cake will minimize the possibility of tangles.

Rein-in your stitches. When working flat, use a longer needle than you ordinarily would. Stitches in linen yarn don’t compress as well as wool (before washing, anyway), so a longer cable will keep them from jumping off the end of the needle.

Count on drape. While it is not best suited to garments that need a lot of elasticity, (no socks!), linen is magical for projects where a fluid, supple fabric is desired. And your linen fabric will become softer and drapier over the life of the garment, the more it is washed and worn. Expect to love it.

4 Comments

join the mailing list

Thanks! An email confirmation is on its way.


archive

  • 2023
    • Jan 27, 2023 A chat with Meg Rodger of Birlinn Yarn
  • 2020
    • Sep 28, 2020 Joining Kestrel
  • 2018
    • Dec 8, 2018 Minding the gap
  • 2017
    • Jul 1, 2017 Summerlong KAL
    • May 4, 2017 Making sweaters that fit
    • Jan 18, 2017 The Hat Trick
  • 2016
    • Dec 20, 2016 Changing up Clio
    • Dec 2, 2016 For the love of pockets
    • Nov 18, 2016 Introducing Clio
    • Nov 7, 2016 Hat week!
    • Sep 4, 2016 Have a cupcake
    • Jul 14, 2016 Working with Kestrel
    • Jul 6, 2016 Donner
    • Jun 9, 2016 Warming up to linen
  • 2015
    • Nov 29, 2015 Meditate

the latest: instagram

Black lives matter. #blackouttuesday
So many ways to construct a drop shoulder…for me it remains a fun style to explore. It’s definitely the easiest sort of sweater to be successful with, because the dropped shoulder line accommodates a range of shoulder widths, so you can
All this week the Celebrating Top Down pattern sale is going on in my Ravelry store—and  I’m delighted to announce that the Woodfords pattern has been added to the party! ⁣
⁣
Woodfords is one of my favorite designs ever—th
Broken. ⁣
⁣
Friday morning I was getting ready to start working on my newsletter, but thought I’d add a pompom to the hat I’d just finished first. The pompom maker lives on top of some tall bookshelves in my office, and as I always do, I
Obsessive? Indecisive? Or just persistent? 😂⁣
⁣
Sometimes a design project goes smoothly, and sometimes you just keep on swatching. Happily, I’ve finally found the right combination of stitch pattern and gauge for the edgings to finish up this
Feeling lucky? The generous folks at Shibui are giving away a Calyx kit to one lucky winner! Check out today’s @shibuiknits post for all the details on how to enter... ⁣
⁣
...but if you’d rather get straight to the knitting, you’ll
The lovely folks @shibuiknits have just launched a campaign called ‘Support what you Love’. In it, they’ll be highlighting the work of independent designers—and I’m super happy to share that I’m among them! ⁣
⁣
The
A few details…⁣
⁣
…plus a reminder that you can enjoy 30% off seven of my warm-weather designs through midnight PST tomorrow, April 1, when you enter the code SPRINGYES! in the Ravelry shopping cart. And please come join us in the Sprin

Looking for older posts? Visit the old Blue Bee Studio blog.


blog RSS

© 2016 Blue Bee Studio